3D Printing
Digital farbication are design and production processes that combine the use of computer-aided design (CAD) programs and software, computer-aided manufacturing (CAM) with CNC numerical control (computer numeric control) machines. These can be divided into additive and subtractive fabrication technologies.
Additive fabrication
Additive manufacturing technologies are those used to convert digital models into three-dimensional objects, basing their construction on the deposition -that is, adding- material in successive layers.
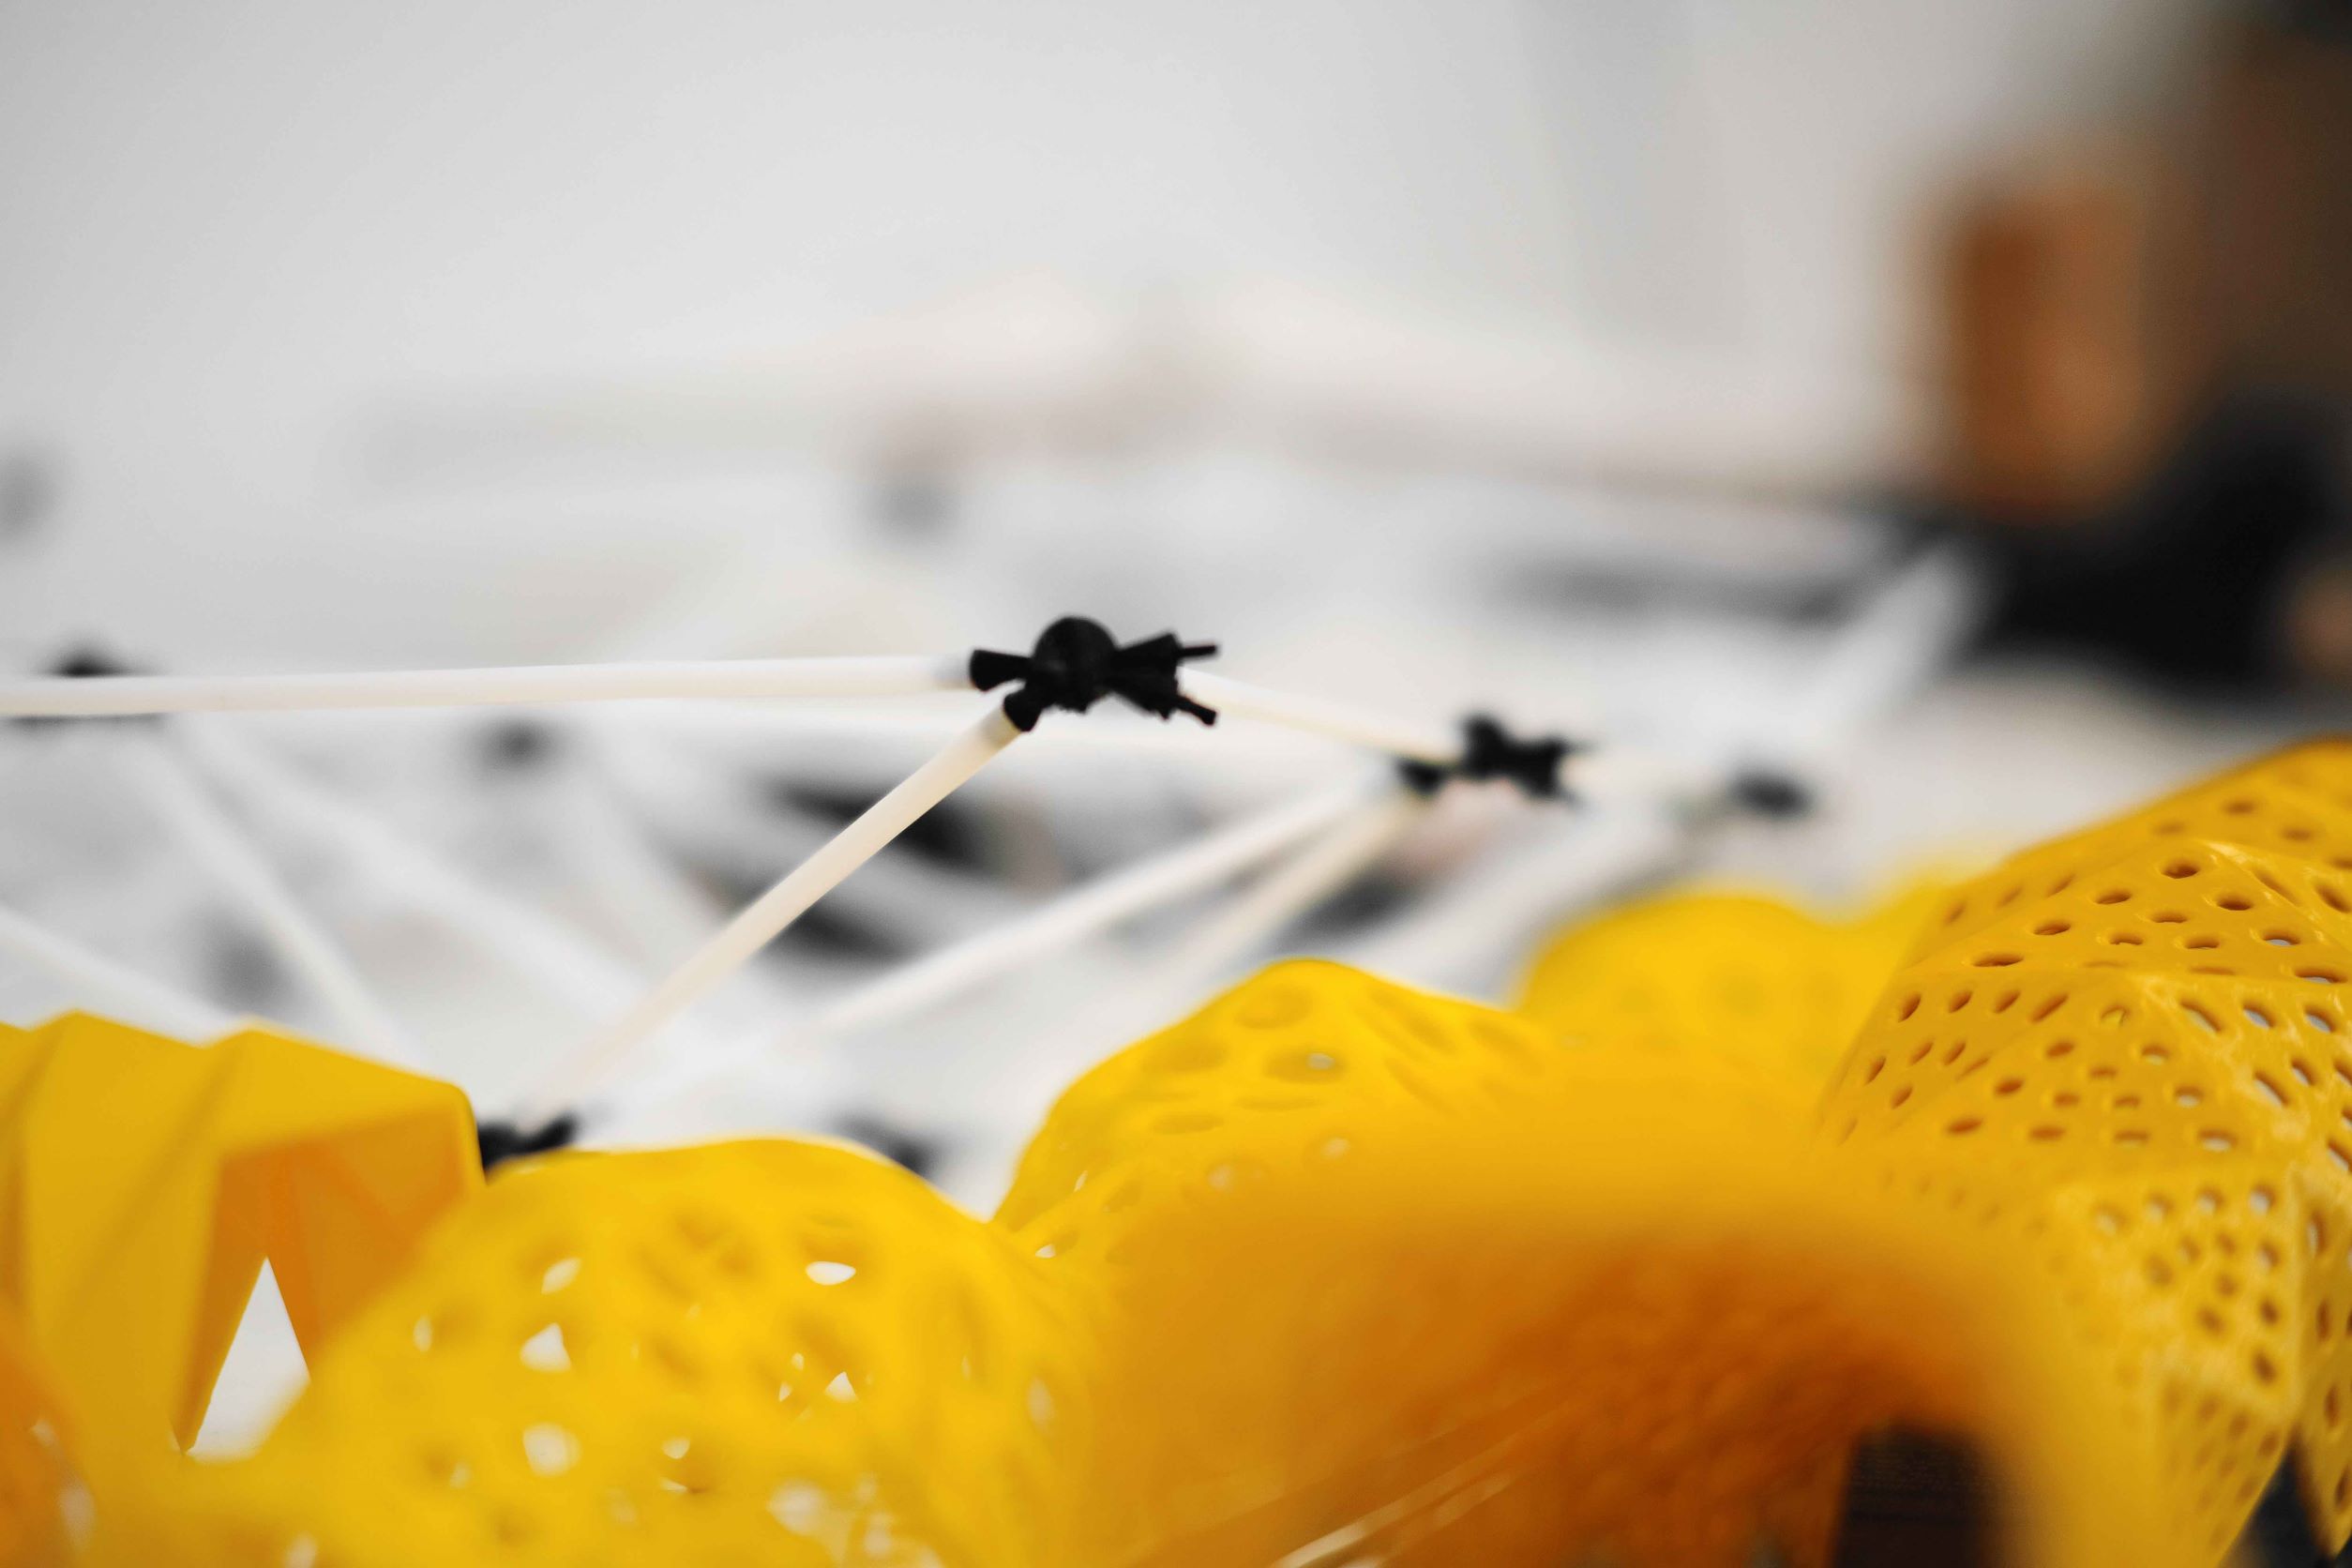
Mechanization in 3D printing
FORMAT FILE
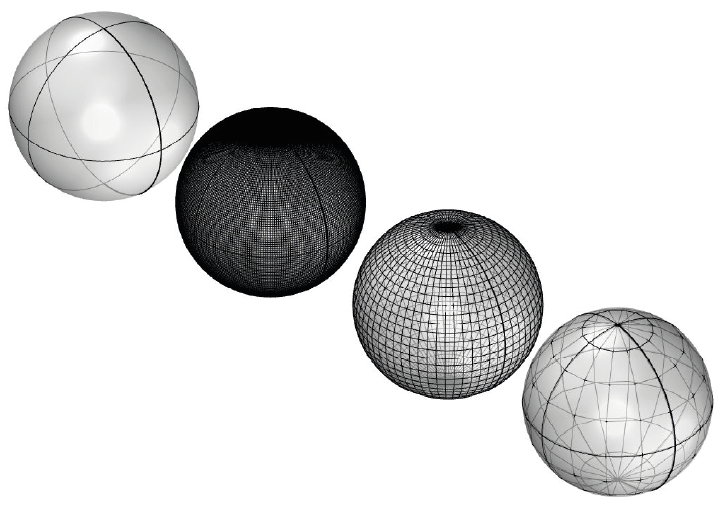
We can use any 3D modeling software to generate the models, as long as there is the possibility of exporting it as an .STL (Stereo Lithography) file.
STL is the standard format used for 3D printing. Polygon mesh that must be closed in order to print correctly.
When exporting the .stl file it must be in 1:1 scale. In digital fabrication, the units we work with are millimeters.

MACHINING PROCESS
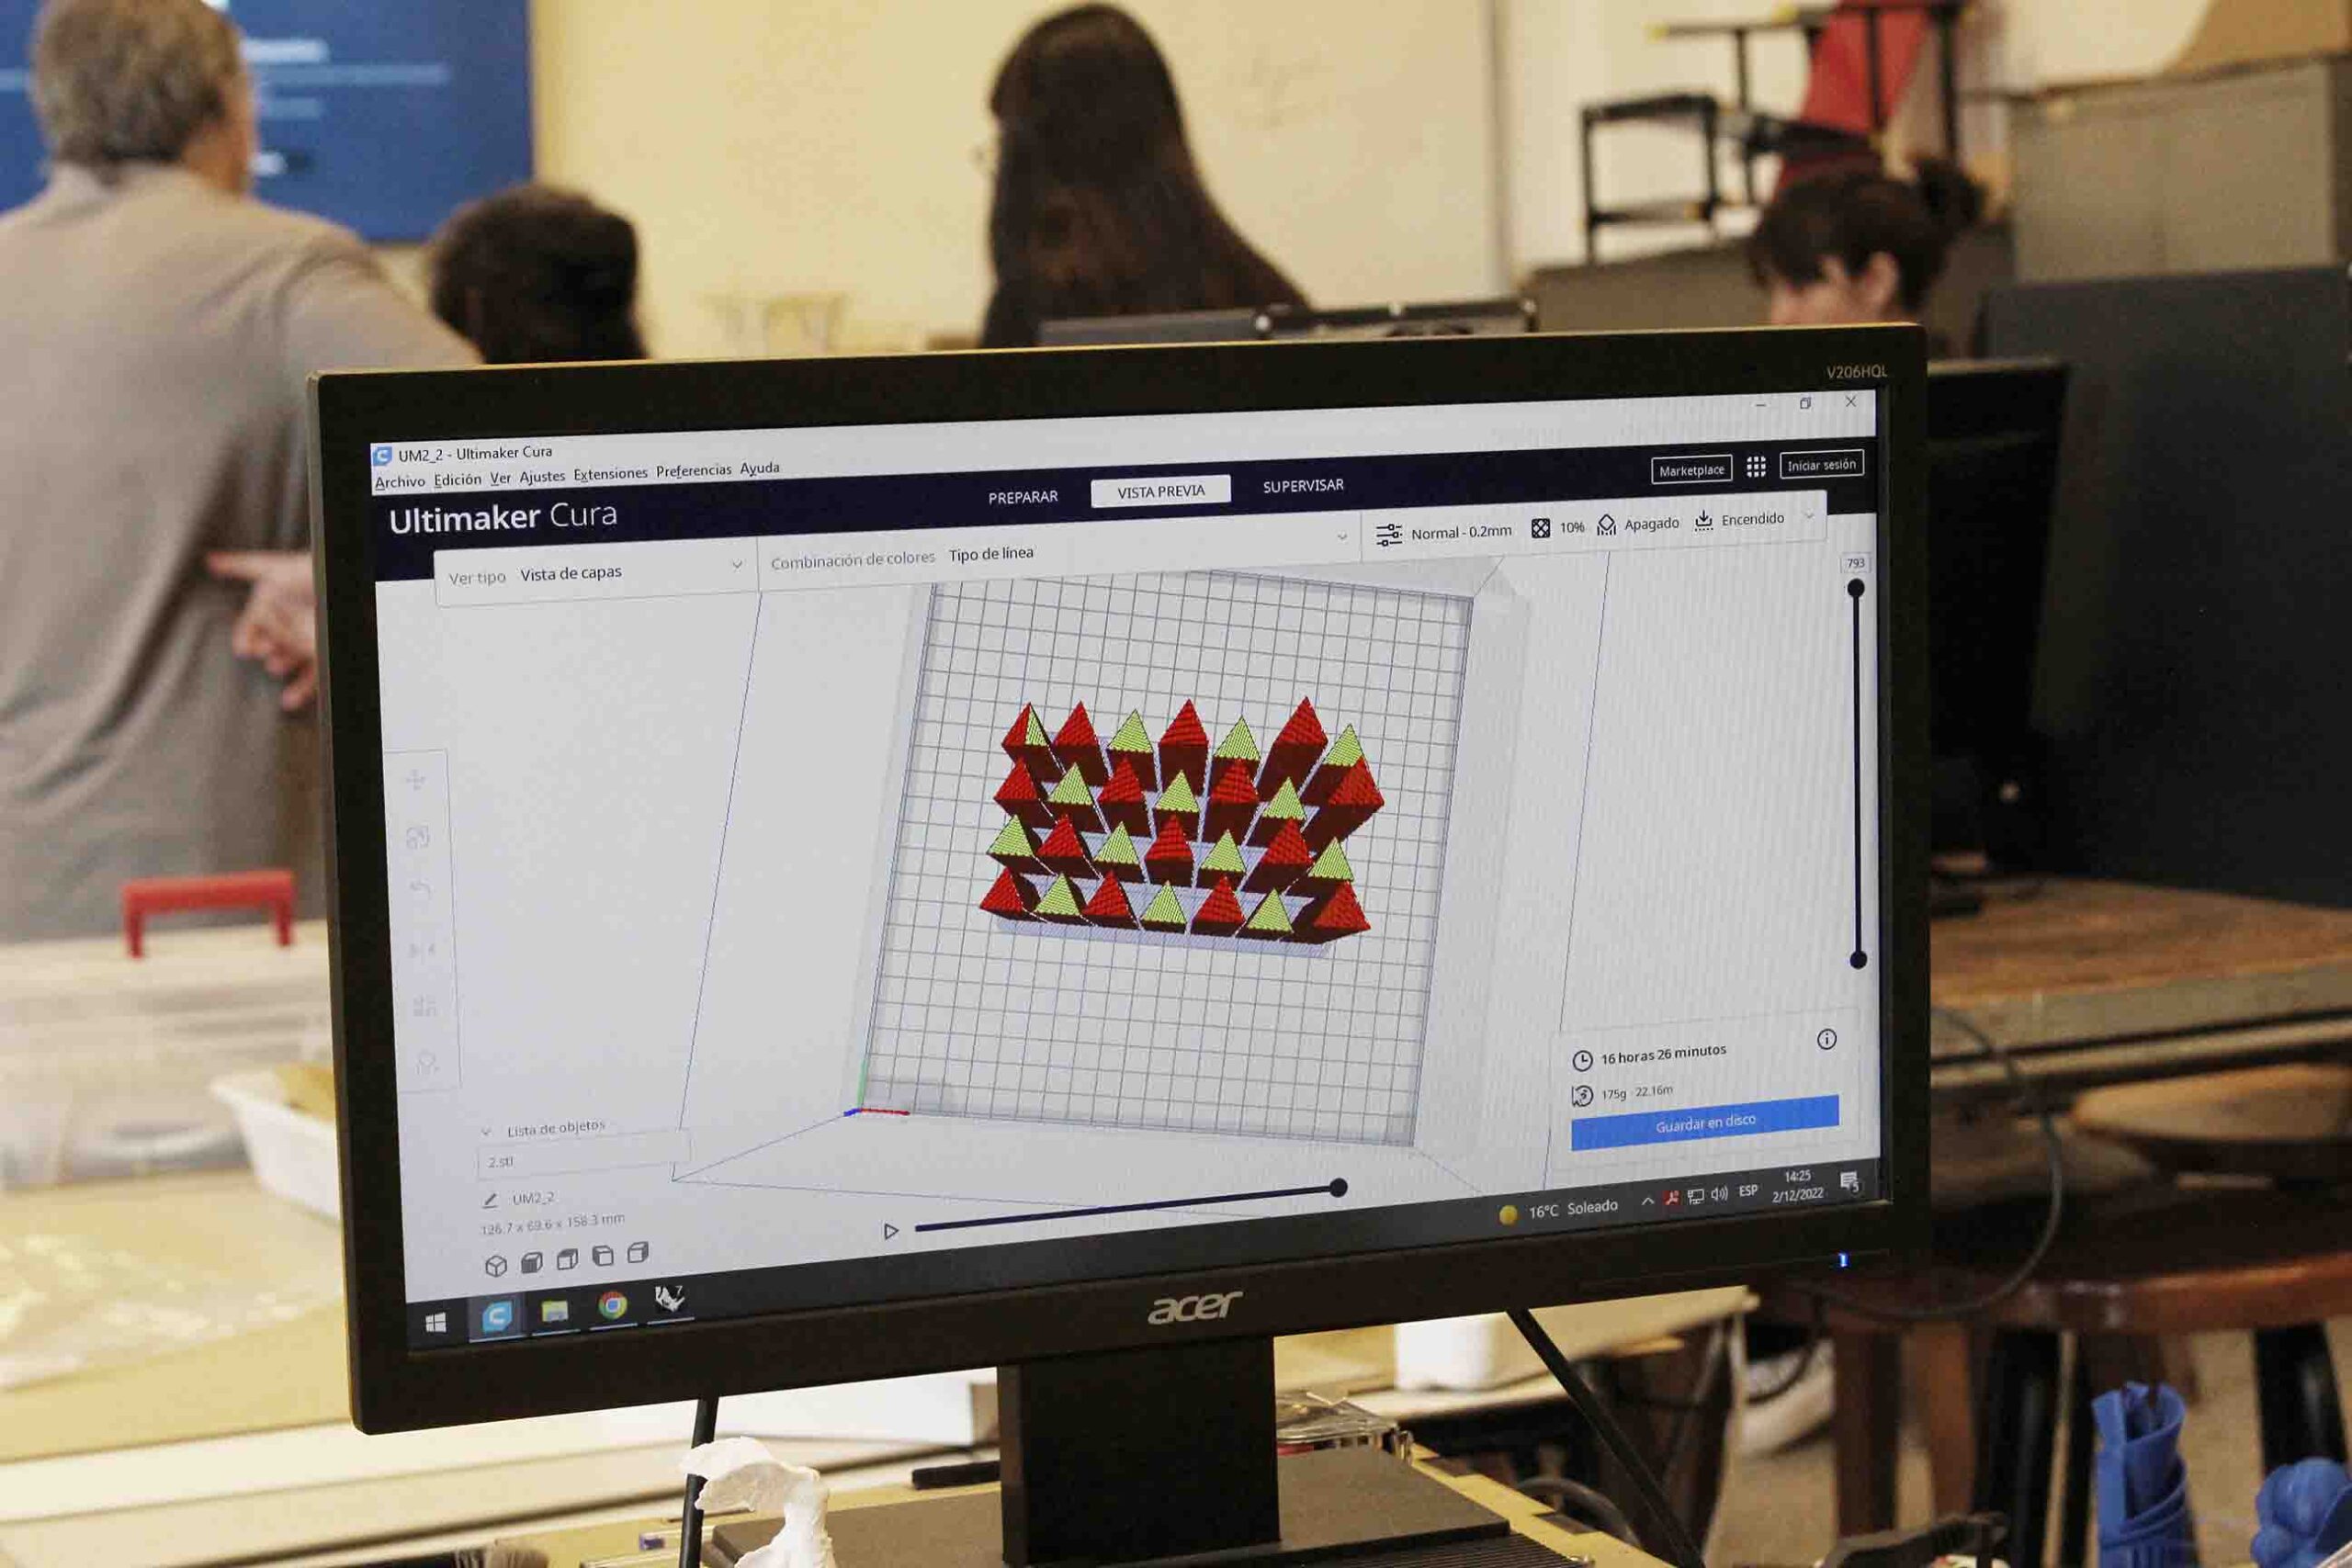
Slicers or machining programs are responsible for converting digital models into trajectory and traversal information for the printer (gcode files).
In these programs we can configure the different printing parameters and values, such as layer thickness, supports (if necessary) and gives us an approximation of the amount of material needed and printing time.
PRINTING PARAMETERS
The printing parameters (extruder temperature, speed, type of support, filling, etc.) must be adjusted according to each material, piece, filament diameter and even the 3D printer model used by the user.
Some of the parameters to configure when printing and their consequences are explained below.
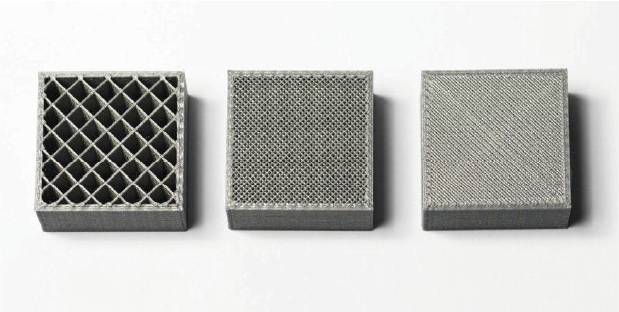
- FILLING DENSITY
Defines the amount of material used inside the object. A higher infill density means there is more material inside the print, leading to a stronger object. A density of around 20% is used for models for a visual purpose, higher densities can be used for end-use parts. The filling pattern is another variable to define depending on the material and type of piece that we want to achieve.
The layer height has a direct effect on the surface of the final piece, as well as it will determine a longer or shorter printing time, the higher the height, the lower the total printing time. Depending on the objective with which we manufacture the piece, we can prioritize the aesthetic factor or the printing time.

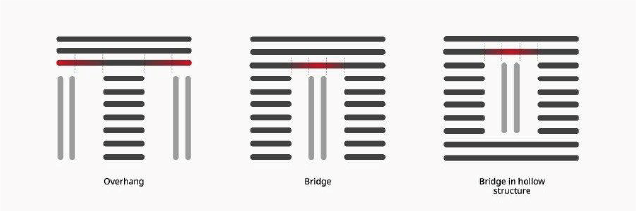
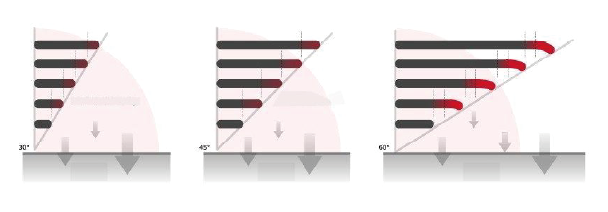
If the part has overhangs, it is important to place supports. Within these parameters it is possible to select if you want the supports to be placed everywhere or only to the printing base.
On the other hand, depending on the distance and angle of the overhang, if it is necessary to place supports. In pieces whose angles are less than 45° (figure 2) it does not require support structures.
PRINTING STRATEGIES
- POSITIONING
The orientation of the object on the printing bed can influence several aspects:
- The surface finish of the piece: the surface against the printing bed is smoother and brighter than the rest.
- The “resolution” of the part, or its level of detail.
- The resistance.
- The amount of material needed as well as the printing time, depending on the number of support structures that are necessary.

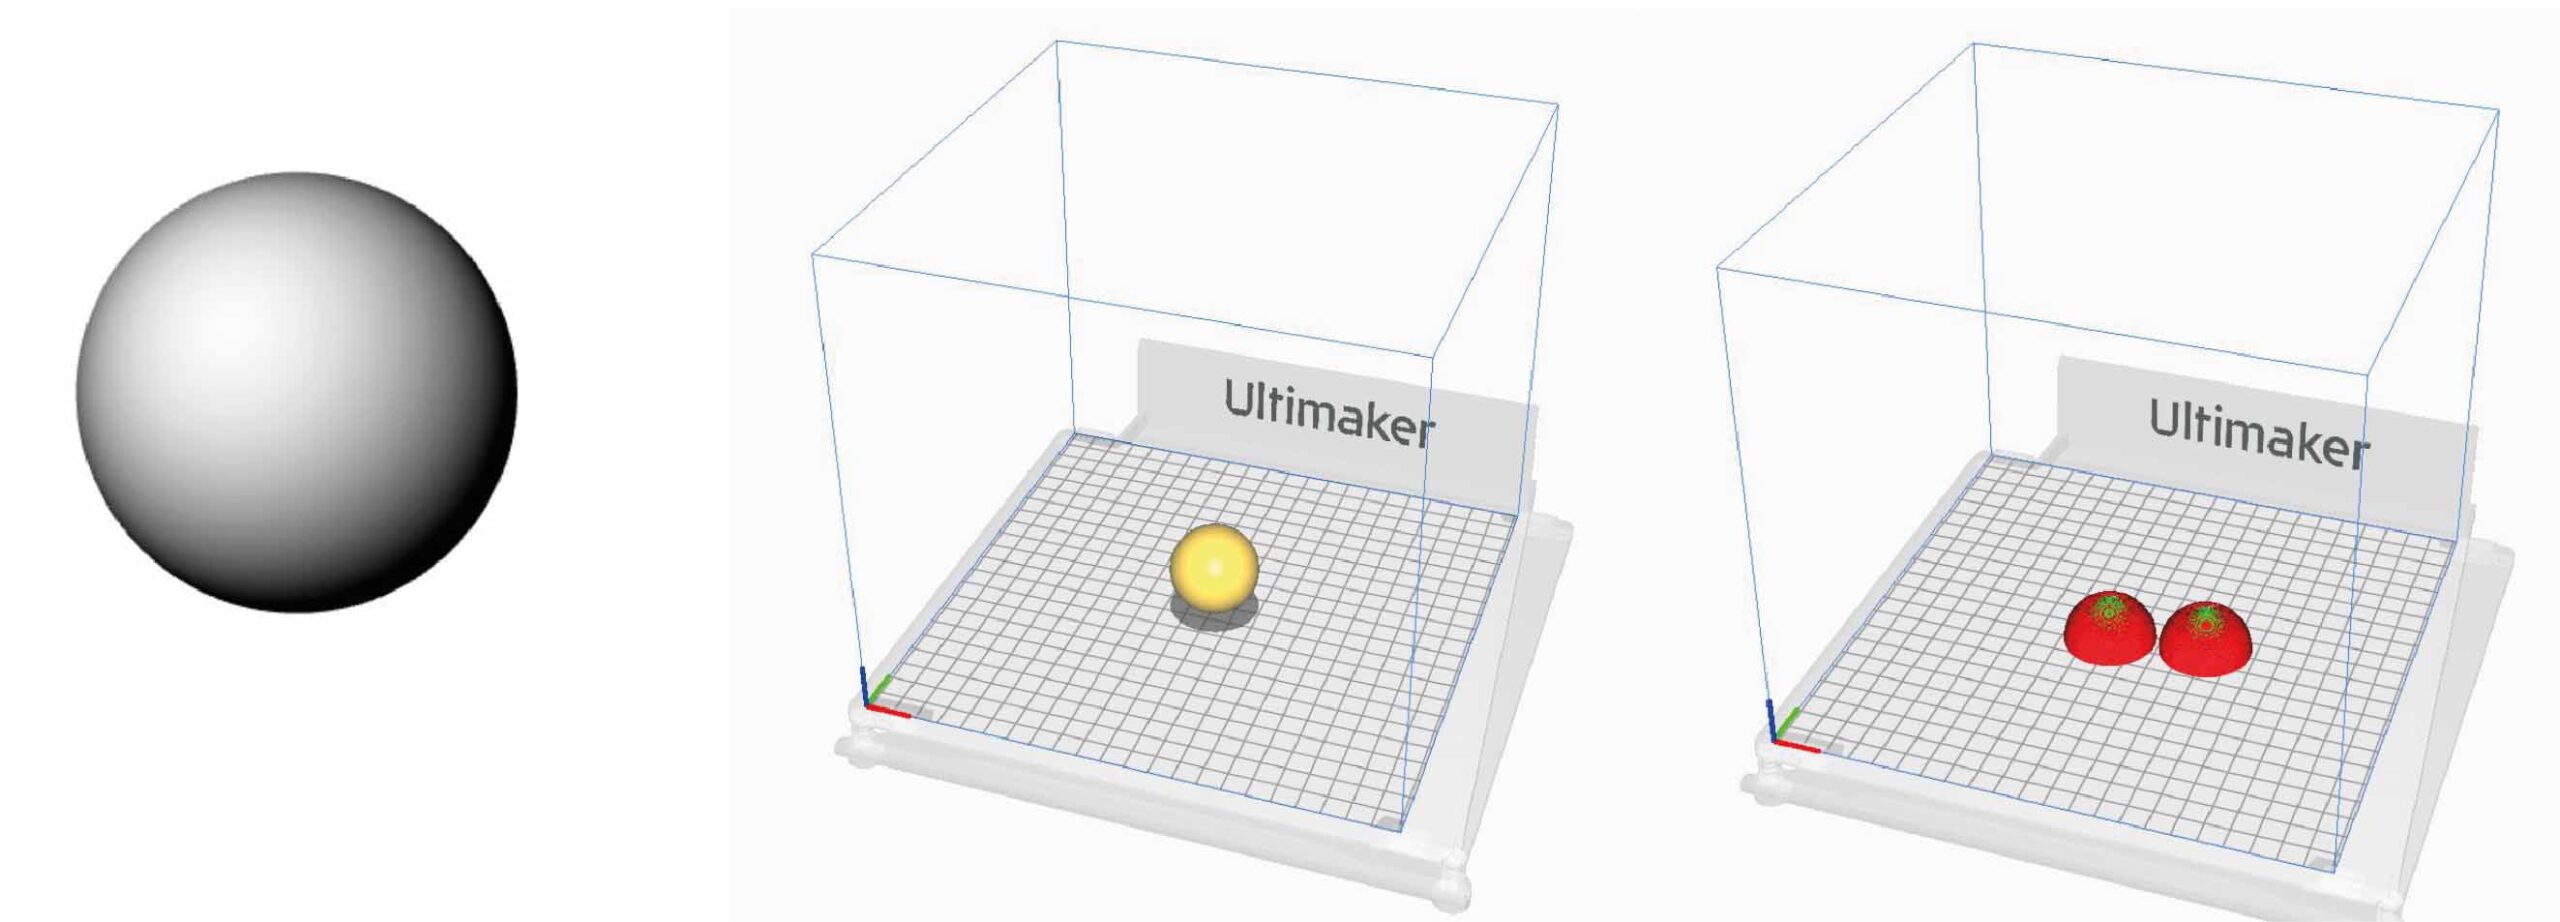
Depending on the geometry of the piece, it is possible to section or divide it into as many parts as necessary to optimize printing, guarantee a good finish of the piece and avoid the excessive use of supports that later affect the surface aesthetics of the piece.
Softwares used
